[Network Dumper 360]
Network Dumper 360 is a tool that simply allows one to create a raw image of their HDD or their slim's 4GB internal USB either directly to their computer, or an external drive. If you do plan on using this on an un-dumped HDD, I would highly suggest that you burn the client onto a disk, and boot from that rather than putting it onto your drive. This is to ensure no deleted data is overwritten prior to dumping. In the event of any updates, this thread will be updated with the latest version's download link along with notes detailing what exactly the update does.[Download]
[https://mega.nz/file/6HgWCZZA#4-VH4UIymFhef1zIrccg5-2Wl2Ep18FgbK2awwd-Q-g]
[Client Options]
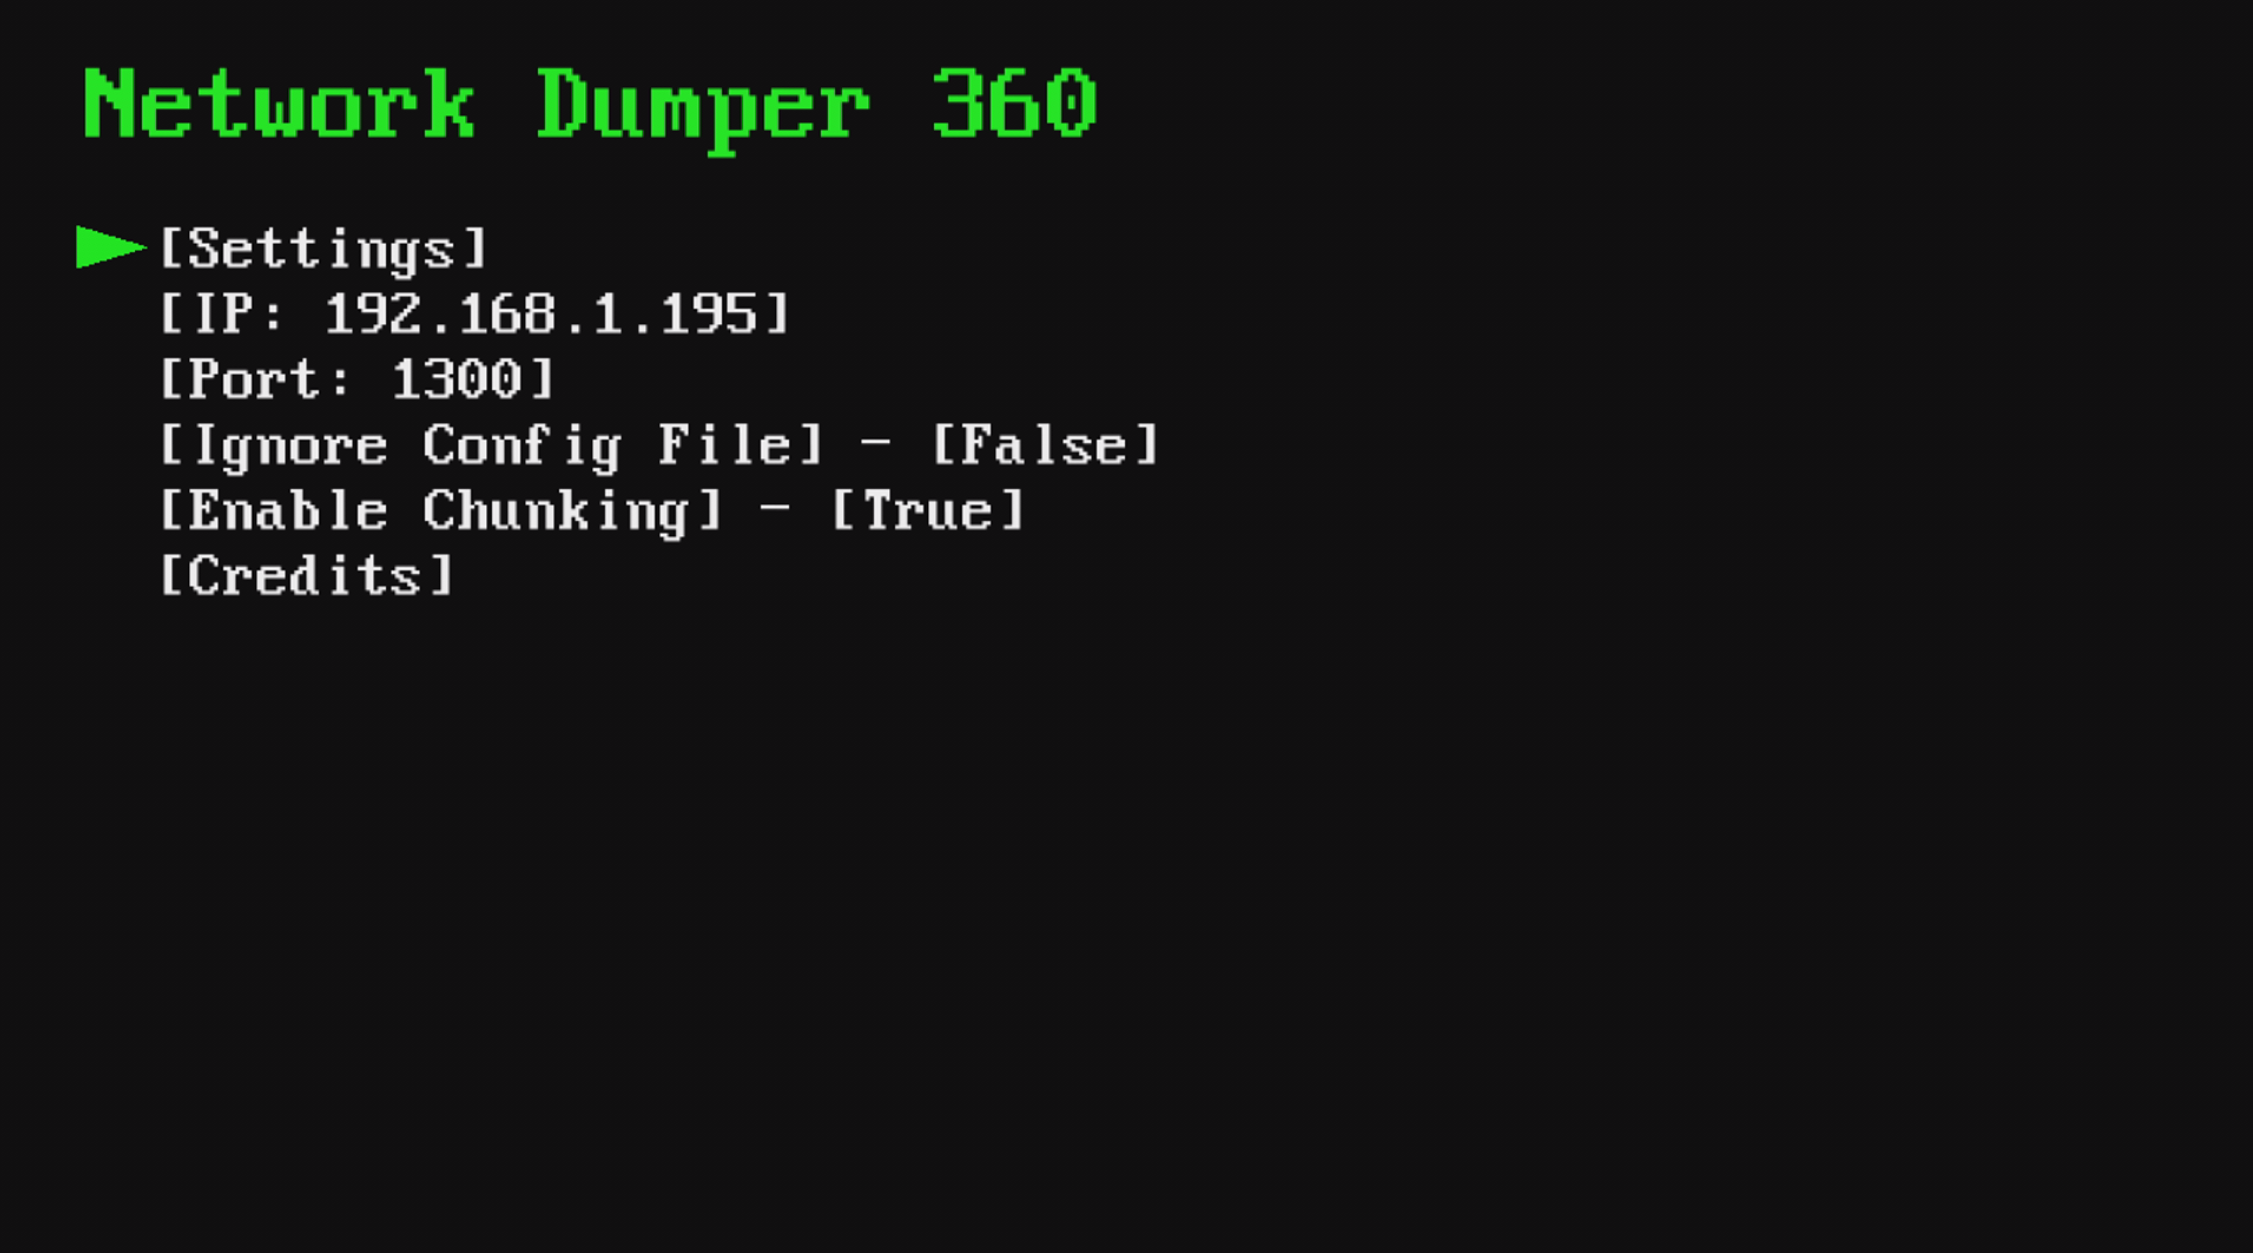
The tool has a number of settings available. The first being the IP address and Port of the remote server you plan on connecting to. In our case, the IP and port should match the server you are going to spin up in the Server folder. In order to change the IP and Port of the client's destination, simply replace the config.ini file with a new one with updated settings. Alternatively, you can also change the IP/Port from within the client itself by simply clicking (A) on either of the options in the settings menu. If you choose to do so, the menu will be updated with your new settings, as well as your config.ini file. However, in the event you are running this from disc, and accidentally burnt a config.ini file with the incorrect IP/Port combo, then simply toggle the Ignore Config.ini option within the settings menu. Doing this, however, will require you to type in your combo from within the client itself. Likewise, you can also leave out the config.ini file entirely, which will have the same effect as toggling the aforementioned option. The final option determines whether or not your dump to an external drive will be split into chunks or not. By default, given Fat32 and Fatx have file size limits of 4GB, this is set to true.[https://mega.nz/file/6HgWCZZA#4-VH4UIymFhef1zIrccg5-2Wl2Ep18FgbK2awwd-Q-g]
[Client Options]
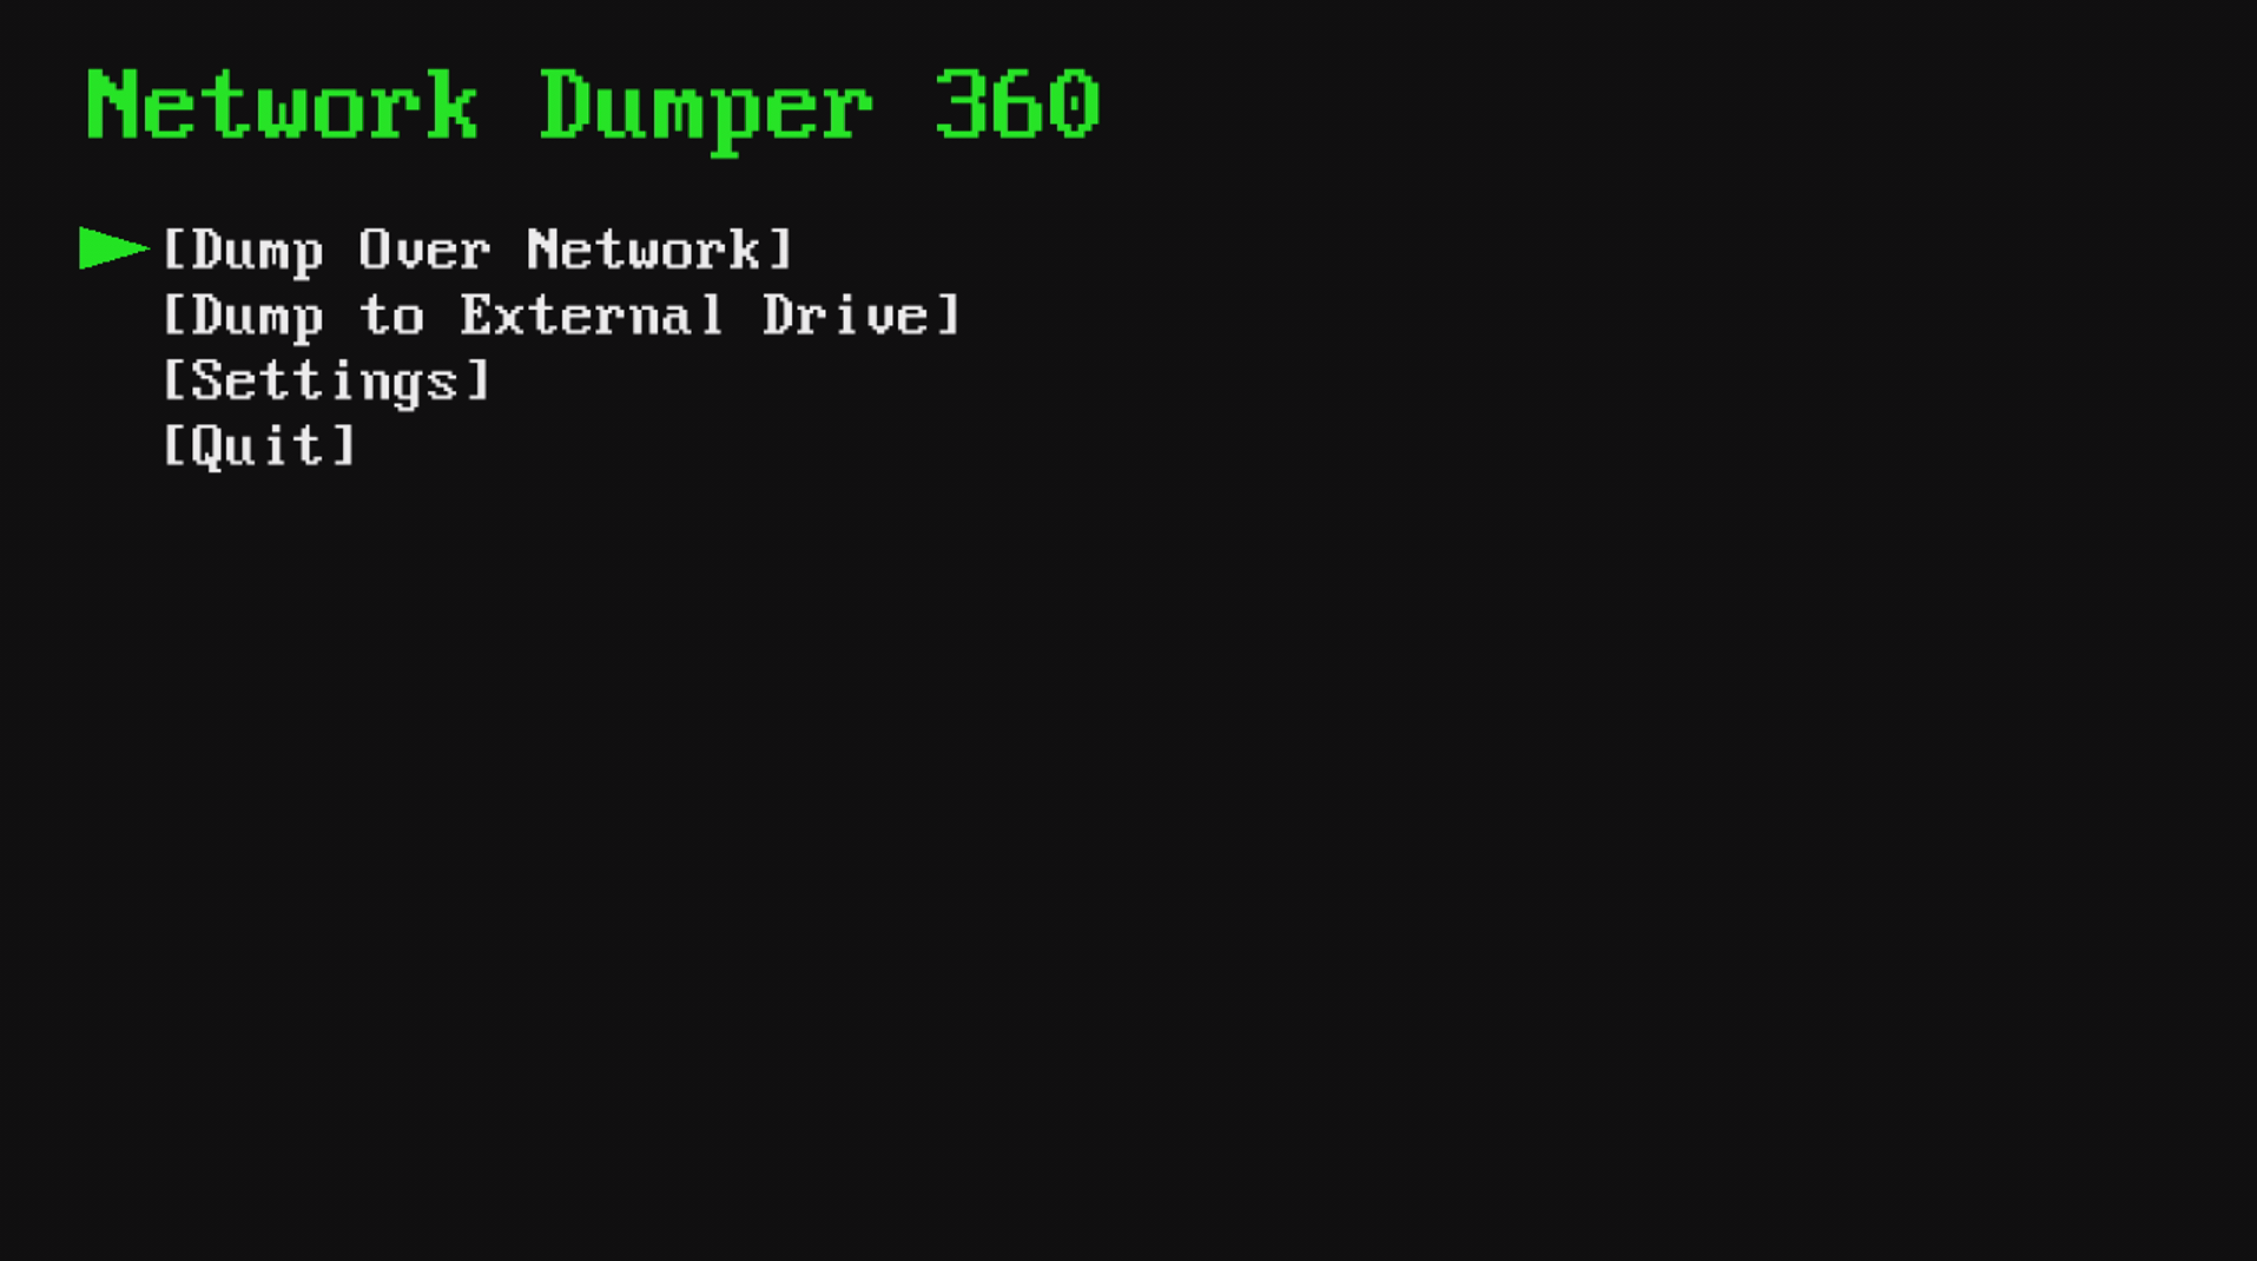
[Client Controls]
(LS Down) or (DPAD Down) to move down.
(A) To Select.
(B) To Go Back.
[Server Options]
[Config.ini File]
This file should be the same for both the client and server.
[Questions]
- How do I cancel a dump?
- To cancel a network dump, simply close the server or restart the app. To cancel an external drive dump, simply disconnect the drive or restart the app.
- Why shouldn’t I just throw it onto my drive and run it?
- If you have an un-dumped kit, the client could overwrite deleted data on the kit making it impossible to recover.
- My kit is on a low firmware. Will this still work?
- The lowest firmware this has been tested on, and confirmed to be working on, is 4548. If you run into issues getting it to boot, contact me. Alternatively, if you find that it runs on lower firmwares, let me know, so I can update this.
- The Xbox is not connecting to the server!
- Please verify that your server is running on your computer’s local IP address, and that your kit is hooked up to the same network. While having your XDK hooked up directly to your router is ideal, it is most likely not the networking setup you have. In the event that you're sharing internet from your computer to your XDK, follow these instructions:
- Go to "Control Panel\Network and Internet\Network Connections" and right click the Ethernet adapter that's used to connect your XDK to your PC.
- Select "Properties", select "Internet Protocol Version 4(TCP/IPv4)", and select "Properties" once more.
- Make sure "Obtain an IP address automatically" is checked.
- Open a CMD prompt, and type in IPConfig.
- Find the Ethernet adapter that's used to connect your XDK to your PC.
- Copy its IPv4 address. This is your server.
- Go onto your XDK and go to "Tools -> Network Settings -> Game Configuration -> IP Settings".
- Set your IP to manual, and set the IP to one that is inline with your server's IP. For example, if my server's IP is 169.254.284.54, then I'd have to set my XDK's IP to 169.254.284.<Any Number here below 255>.
- Set your Subnet mask to "255.255.255.0"
- Please verify that your server is running on your computer’s local IP address, and that your kit is hooked up to the same network. While having your XDK hooked up directly to your router is ideal, it is most likely not the networking setup you have. In the event that you're sharing internet from your computer to your XDK, follow these instructions:
- How fast does it take to dump?
- I managed to dump my 250gb slim kit HDD in just above 7 hours over my network. However, depending on your setup and home network, this could vary.
- I found a bug! What do I do?
- Report it to me, @Cashmint#2459 on Discord.
[Update Notes]
- 1.01:
- Client Changes:
- Fixed an issue where the client would fail to dump the entirety of one's drive to an external drive.
- Fixed an issue where dumping to an external drive would display the incorrect percentage.
- When dumping to an external drive, a folder is now created on the drive with the dump in it rather than having the dump be on the root.
- Added the option to enable chunking for external drive dumps.
- Server Changes:
- None.
- Client Changes: